BASS SHAKER, also known as Tactile Transducer, changed the way we experience sound by adding a new dimension – direct touch with sound waves. BASS SHAKER sends you through an immersive journey at relatively low cost to the subwoofer. To give a similar feel with a regular subwoofer, we’ll need huge speakers because a regular subwoofer creates sound waves by pushing air, which requires a lot of energy. The Bass shaker actually “skips” the air pushing and vibrates directly into the furniture we’re sitting on. The Bass Shaker can be integrated into a home theater system in the living room, a stereo system in the bedroom or virtually any PA system. There are different models that suit different situations.
I got to install Bass shakers in every situation, from private homes to Outdoor festivals and I learned a lot along the way.
In this guide we will talk about how to upgrade an existing sound system by installing a BASS SHAKER in the sofa. Bass Shaker can be integrated into an amplification system with or without a subwoofer. It is important to follow all the steps to maintain the integrity of your furniture and PA system to avoid mistakes.
Links to buy BASS SHAKER and all necessary accessories
Before installation
Equipment required
1- BASS SHAKER
2- Amplifier
3- Speaker cable 14-16awg
4- Screwdriver with screws, bolts and nuts.
5- Staple Gun
6- Anti-vibration coasters for washing machine
Design our sound environment
Step one is to figure out how many Bass shakers we need, how many furniture we want to vibrate, how many seats in each piece of furniture, etc.. Every situation is different and requires a bit of trial and error.
A few rules of thumb to help you decide
1- I recommend at least 50W per seat. More power is better.. You can always turn it down. Basically on a 3-seater sofa is recommended at least 200W. Power can be reached by connecting one powerful Bass Shaker or wiring several small shakers. See more on power calculation below.
2 – How does your furniture build? Is it a single unit, or a sofa that is fabricated of separate units. If your sofa is made of individual units, you will have to put a Bass Shaker on each unit.
How to match a BASS SHAKER with an amplifier
A Bass Shaker, similar to a passive subwoofer, requires power from an external amplifier such as a subwoofer amplifier or receiver of a home theater system with an Active subwoofer port. We need to make sure we have a amp that matches the Bass Shaker in terms of power and resistance. There are different models from different companies but for this guide we will take as an example the most common model of Bass shaker with 50W power and 4Ω resistance.
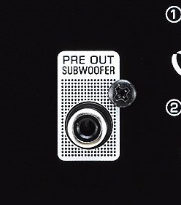
On the principle level, if your receiver has an active sub port, you can connect a base shaker directly to it. I still recommend installing an extra dedicated amplifier just for the Bass Shakers, that way I have better control over the power. Most home receivers don’t have an amplified Sub output even if they’re listed at 5.1 or 7.1. If you see an RCA port or PL that has a PRE – OUT SUB on it, that means it is a non-amplified port through which a dedicated amplifier will be connected.
Daisy-chain amplifiers allows us to build our system in stages so you don’t have to buy everything at once.


How to coordinate power from Amplifier to BASS SHAKER
It is recommended that the amplifier should be as strong as or more than the average power of the BASS SHAKER – that is, if we assemble a BASS SHAKER with an average power of 50W, We will need a 50W-100W amplifier. That’s because amplifiers tend to overheat and distort at full power. Home amplifiers are not supposed to work at full power on a regular basis. Therefore, the recommendation of professionals, even for regular speakers, is to get a powerful amp and not to push it to full power. The rule of thumb is “to turn it down is always easy, to turn it up is difficult.” Be careful not to attach a Bass Shaker to an amplifier too strong so you don’t blow up the bass Shaker.
Conversely, if we connect a 100W amplifier to a 300W base shaker the system will work but we won’t get the most out of the Bass Shaker.
When a couple of bass Shakers are wired together, we sum up their power together. For example-4 base shakers of 50W will give us power of 50W+50W+50W+50W=200W
How to coordinate resistance between amplifier and BASS SHAKER
Like standard speakers, the BASS SHAKER also has a resistance level. Each amplifier has a range of resistance according to the manufacturer’s instructions. Usually the lower the resistance, the higher the amplifier can reach in terms of power, but DO NOT plug in a Bass Shaker if it doesn’t work within the range of the amplifier.
For example, if the bass shaker 4Ω and the amplifier only works at 2Ω, we can’t connect the Bass Shaker. If the base shaker 4Ω and the amplifier works in the 4-16Ω range then it is in the range and can be connected.
Wiring several Bass Shakers together
You can wire in Series, Parallel or a combination of both. Series wiring increases resistance and parallel wiring lowers resistance. If we wire 2 Bass shakers of 4Ω, we get 2Ω resistance. If we wire them in Parallel, we’ll get a resistance of 8Ω.
For wiring 4 Bass Shakers togather see the wiring diagrame below. Wire in series will get 16Ω, Parrallel equals 1Ω. And acombination of: Each of the two Bass Shakers is wired in series and both pairs are wired in parallel. So two shakers create an 8Ω resistance. And the two couples together brings us back to 4Ω total.

HighPass filter
A BASS SHAKER, similar to a subwoofer must receive low frequency range only. HighPass filter or LowCut or simply “SUB port” is a critical feature in the amplification system because it sends the Bass Shaker only low frequencies and pulls out mid and high frequencies. In professional sound systems that are suitable for stage, the cutting of frequencies happens in a perliminary stage to the amplifier through a component called a Processor. In a home PA system it works a little differently. The bass amplifiers I recommend here on this site comes with a built-in LowCut filter.
Step 1 – Assembly
1- Before connecting cables or electricity – make sure the amplifier is turned off and the volume on the lowest! A sudden connection to electricity can damage the amplifier and speakers.
2- Test the system- Place the Bass Shaker on the insulation came with the box and place it on the floor.
3- Connect a speaker cable between the bass amplifier and the BASS SHAKER. Connect the amplifier to your audio player.
4- Plug the amplifier into the electricity and turn it on.
5- Put a track in the audio player, turn the volume on the audio player up to maximum and skip to the loudest part of the track (usually there’s no bass in the opening of the track)
6- Turn up the volume on the amplifier slowly.
7- If at this point the Bass Shaker starts to vibrate and move on the floor, great! You are ready for the next step! If nothing happens you should check what’s not working. Avoid connecting and disconnecting cables while the amplifier is on.
Step 2 – Mounting the furniture
Check how can you access the interior of the furniture, usually by removing a cloth stapler at the bottom of the sofa. I recommend you to not cut furniture fabric if you don’t know how to sew it back.
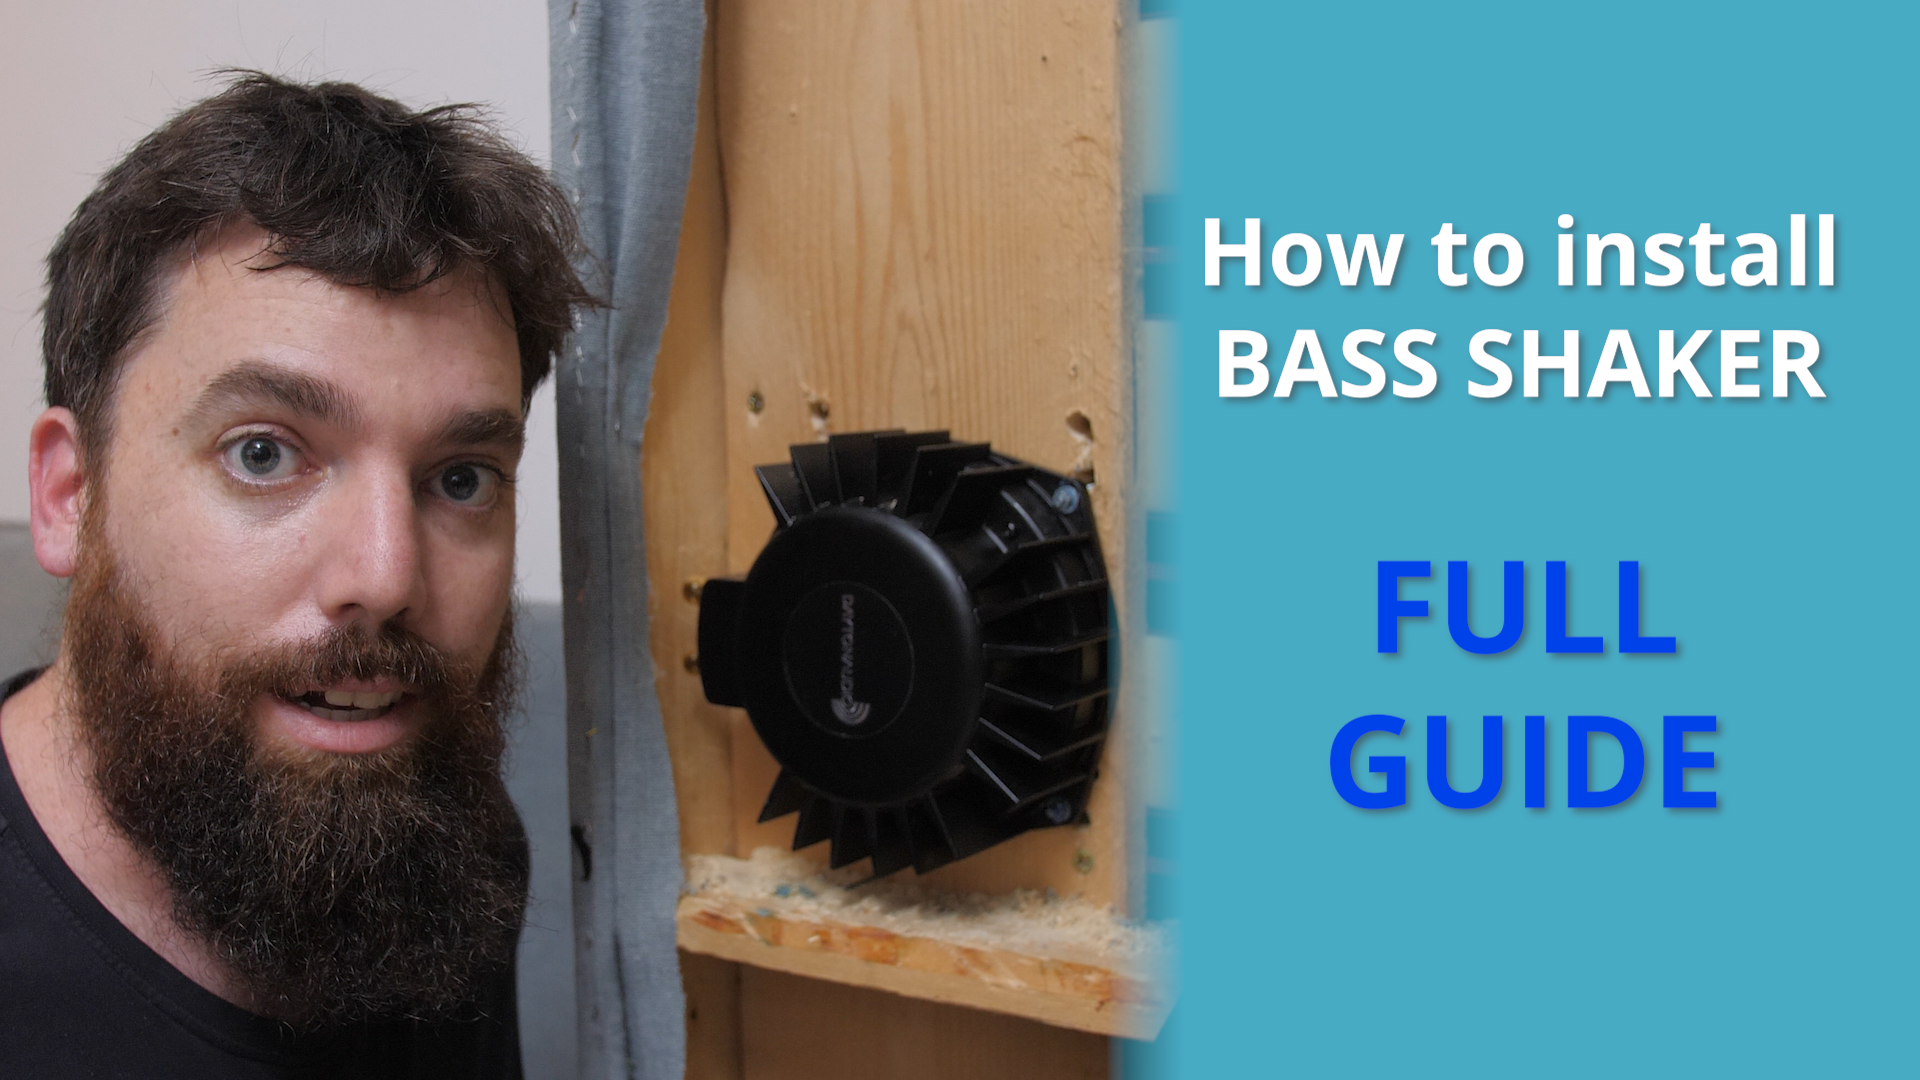
Screw the Bass Shaker into a wooden frame of the furniture. The Base Shaker should touch the whole frame. Pay attention – Don’t screw into thin plywood plate but to the frame. If there is no convenient place to attach to the frame, you will need to add an extra board bolted along the furniture. To distribute the vibration optimally, make sure the plank reaches end to end of the vibrating area. Every furniture is different, so this stage requires a little bit of creativity.
Make sure the Bass Shaker doesn’t touch the wall or floor. Can be installed in the back and / or seat.
Step 3 – Wiring
At this stage we will rewire the Bass Shaker and do a a sound check according to Step 1. This time we’ll also be listening for hum sounds, if they exist – look for their origin, sometimes it’s a loose part of the sofa that requires reinforcement.
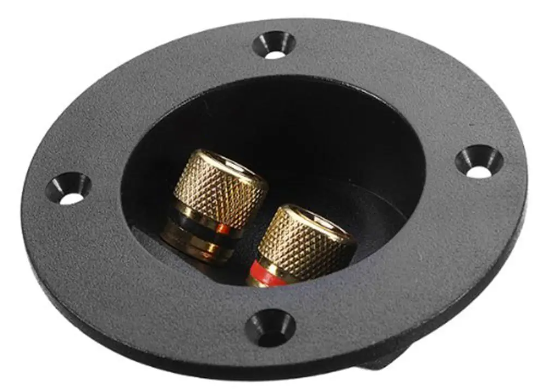
For advance audiophiles – you can add a sound terminal in the sofa so you can easily detach the sofa and move it during cleaning. in the video you can see me wiring a PL (TS) plug to the cables to get the same effect of a terminal.

Step 4 – Final Arrangement
We will now staple or sew the fabric back on the sofa.
Put rubber coasters under the feet of the sofa to insulate the sofa from the floor. That way energy does not waste on the floor and also isolates you from your neighbors.
We’ll run the cable along the wall with cable catchers.
And voila! You’re vibrating!


